
I love all my Wheel Stamps, but like many, I prefer to mount them onto Stampin' Up! Clear-Mount Cling Foam so to use them as a cling mounted stamp. Usually due to this conversion, we are generally unable to view the stamped image that we are stamping - but I have a solution!
Here is my step by step process!
1.Remove the rubber from the plastic wheel.
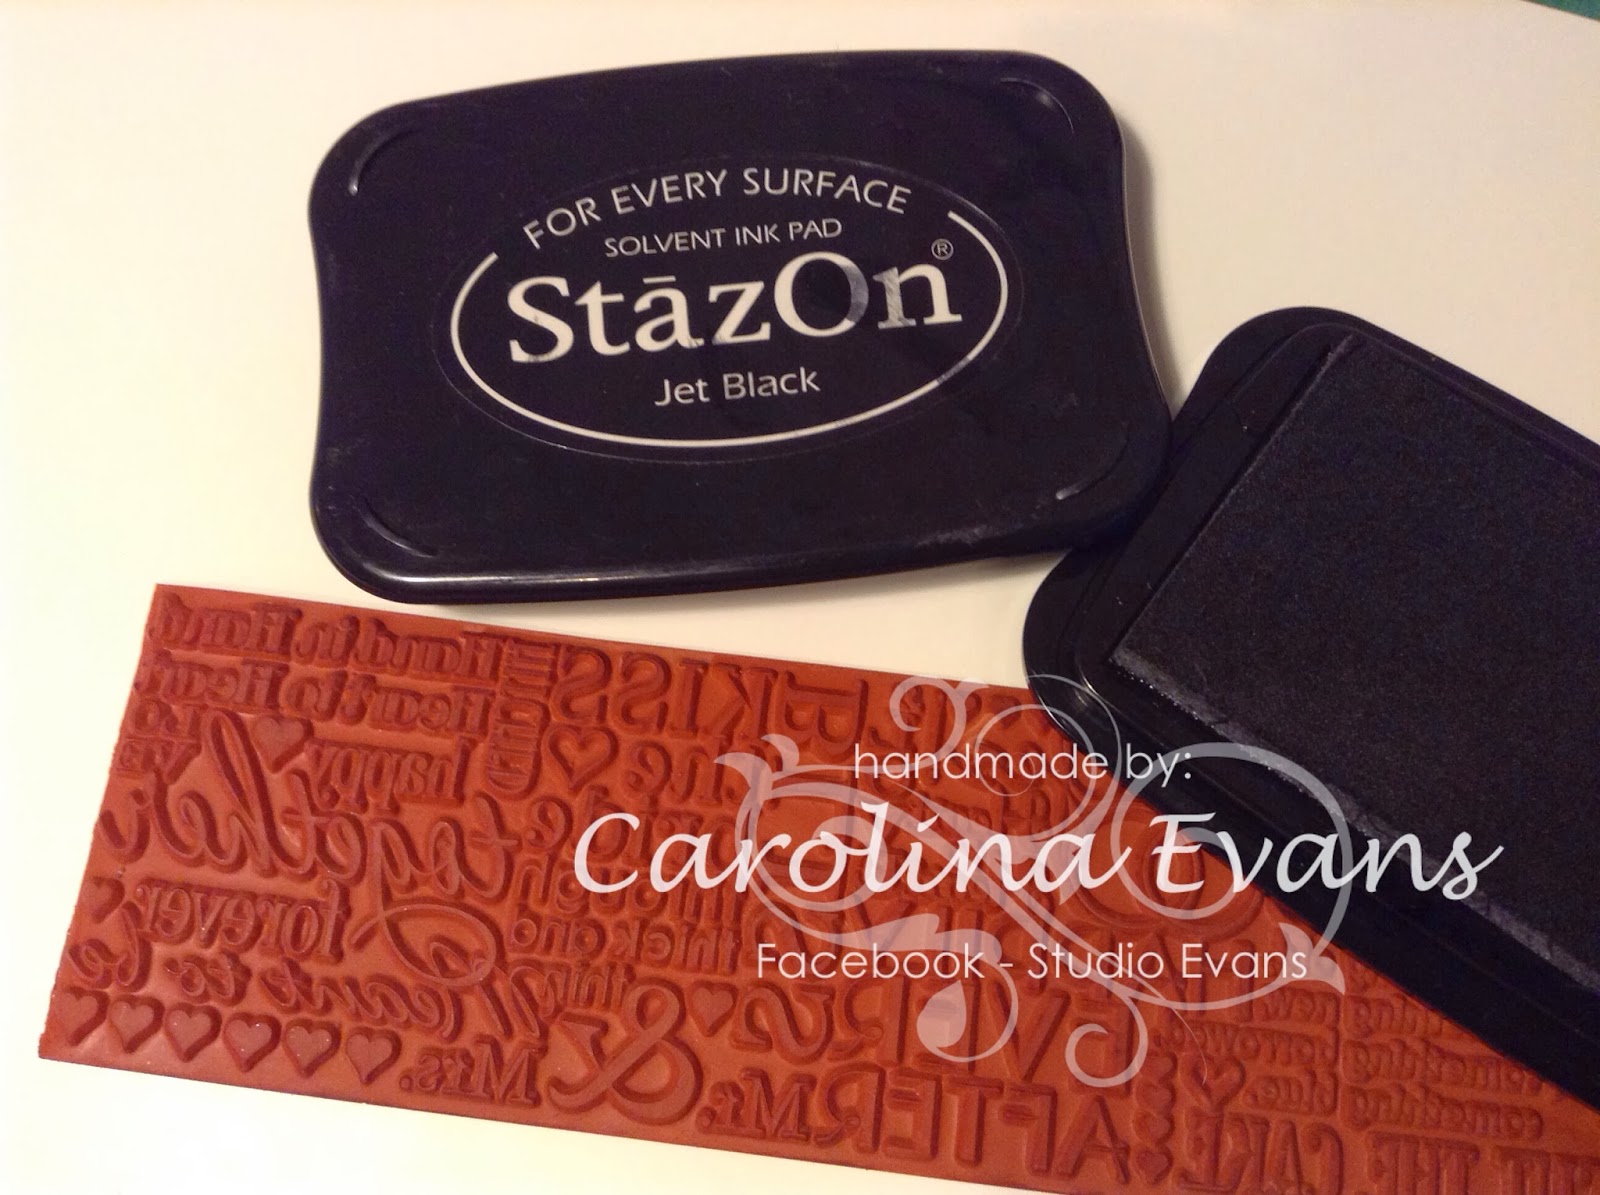
 2. Use Staz-On Black Ink to ink up your stamp.
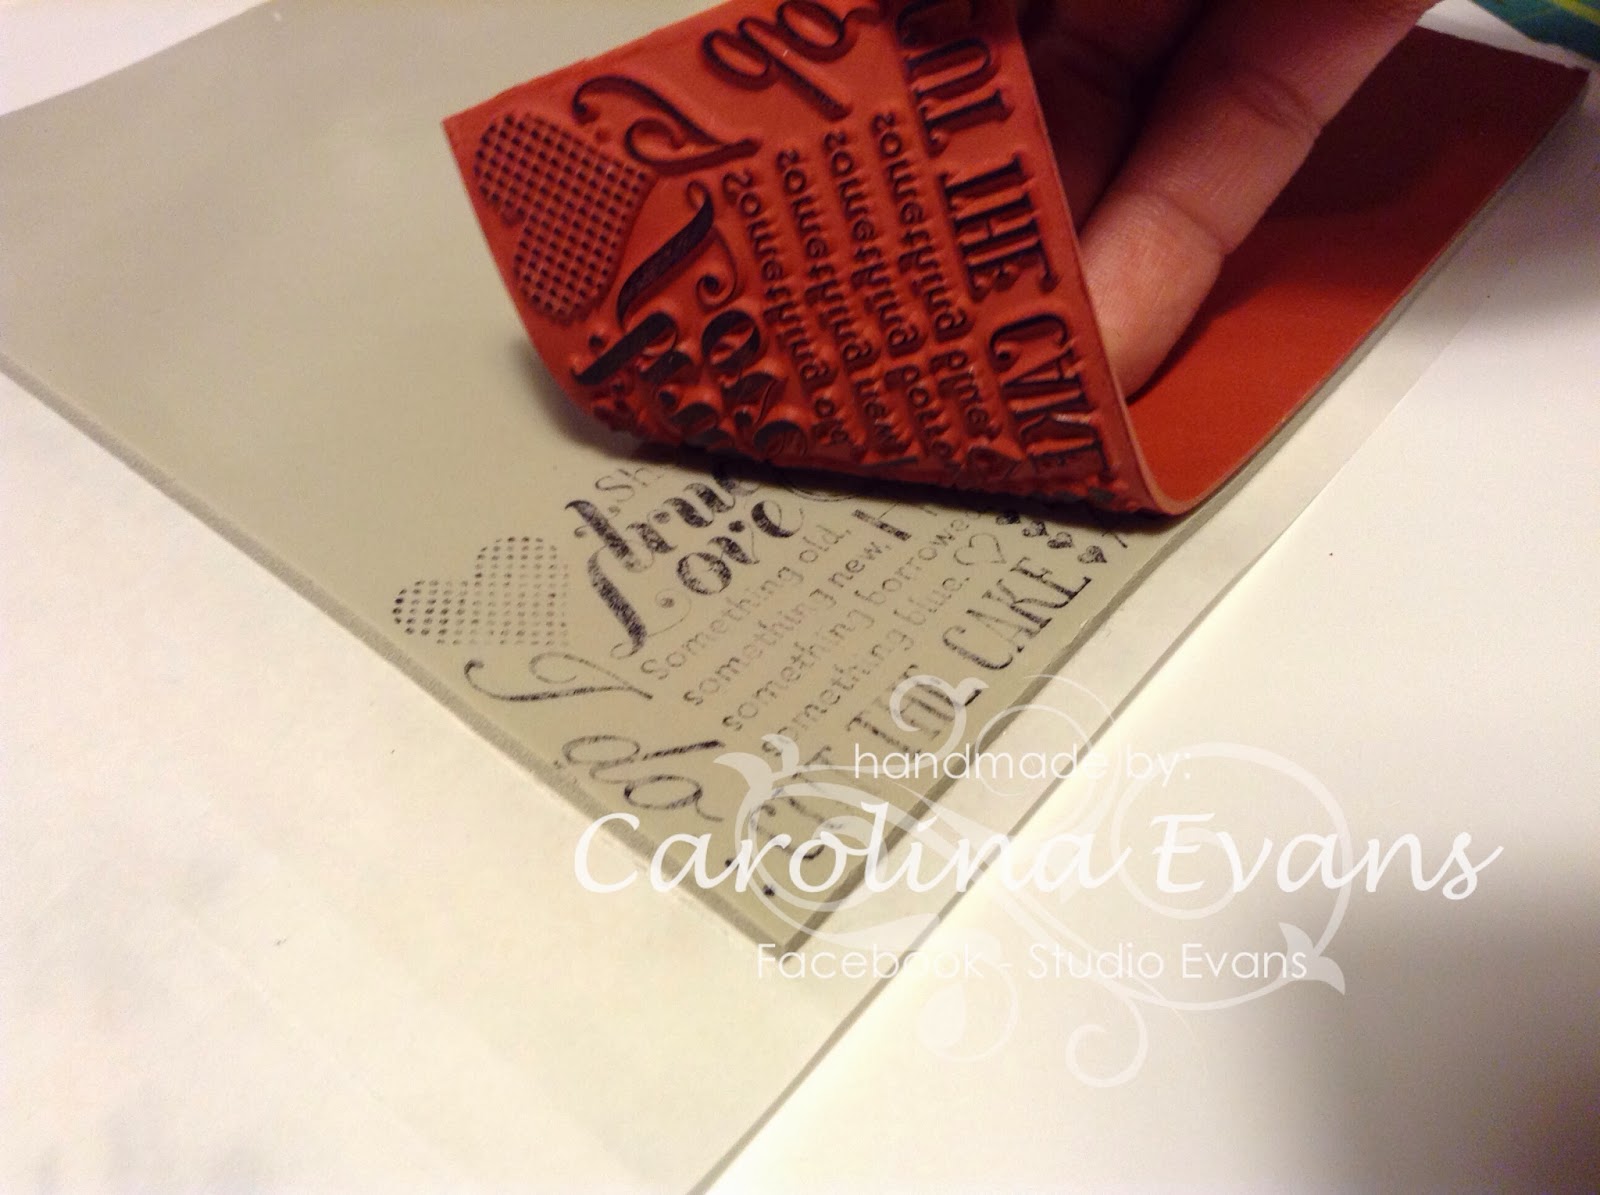
 3. Carefully place the rubber upside down on the cling side of the foam, and press down on it to 'stamp' the image.

 4. Unpeel the 'sticky' side of the foam and stick down the rubber (be sure to stick it the right way round according to your stamped image on the other side)
 5. Cut the new stamp away from the remainder sheet of foam.
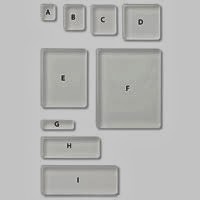
6. Your stamp is now ready to use! Acrylic Blocks I and C are best used side by side for mounting the stamp.
7.Store your new stamps in Stampin' Up! Clear Mount Stamp Cases - DVD sized.


Thanks for visiting my blog!

Here is my step by step process!
1.Remove the rubber from the plastic wheel.
6. Your stamp is now ready to use! Acrylic Blocks I and C are best used side by side for mounting the stamp.
7.Store your new stamps in Stampin' Up! Clear Mount Stamp Cases - DVD sized.

Thanks for visiting my blog!
That's a BRILLIANT idea stamping on the rubber Carolina. Awesome! Love this tutorial. Thanks for sharing.
ReplyDelete