We took a lovely walk up to the You Yangs today with the kids and I knew we would return after dark. So cheeky me took my card on the trip and while it was still daylight I took some photos.
A family member recently moved house so this card is going to be perfect for them.
Here's how I created it... (card measurements are detailed further down in this post!)
I stamped the backgound with Tip Top Taupe ink with the dot image from 'Work of Art' - love this!
Next I used my Stampin' Write Markers to colour the very cute and heavily loaded car image from 'Happy Notes' onto the white piece - the sentiment comes as part of the car image stamp and because I wanted a bit of space inbetween so I could add my lovely Pool Party cotton ribbon, I stamped them separately - coloured and stamped the car first, then cleaned my stamp, then coloured and stamped my sentiment further down the paper.
I bet you're asking what I used to create the cute corners? Well I'm excited to say that available soon in the Holiday Catalogue (Sept 1st 2015) you will see the 'Curvy Corner Punch'. 1 punch with 3 designs! I have used 2 here the scalloped edge and the double curve. The other design is a ribbon slide.
Layer all the pieces together with dimensionals, add some ribbon and a cute button and we're done.!
Here are the card measurements so you too can create this card:
- Standard Australian C6 card base in Tip Top Taupe Cardstock (half A4 sheet)
- Mint Macaron Frame - 3" x 5"
- Pool Party Frame - 2-1/2" x 4-1/2"
- Whisper White Panel - 2" x 3-1/2"
My card is inspired by 2 challenges, here are the inspirational pics from
Pals Paper Arts 262 &
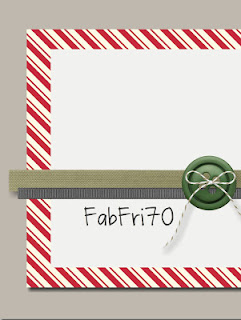
Fab Friday 70
I've added this colour swatch that features the colours on my card. Please feel free to pin it to your pinterest boards!
Stampin' Up! Supplies
Built for Free Using: My Stampin Blog
Thanks for stopping by today