Showing posts with label Male Cards. Show all posts

Friday, 5 April 2024

Wildlife Wonder - Chain Card Swap for Maheswari

Welcome to the Chain Card Swap Blog Hop! This hop is all about Maheswari and the CASES of her card. I encourage you to start the blog hop at Maheshwari's blog and follow along to see the progression of her card through the group. Its so interesting to see the development!

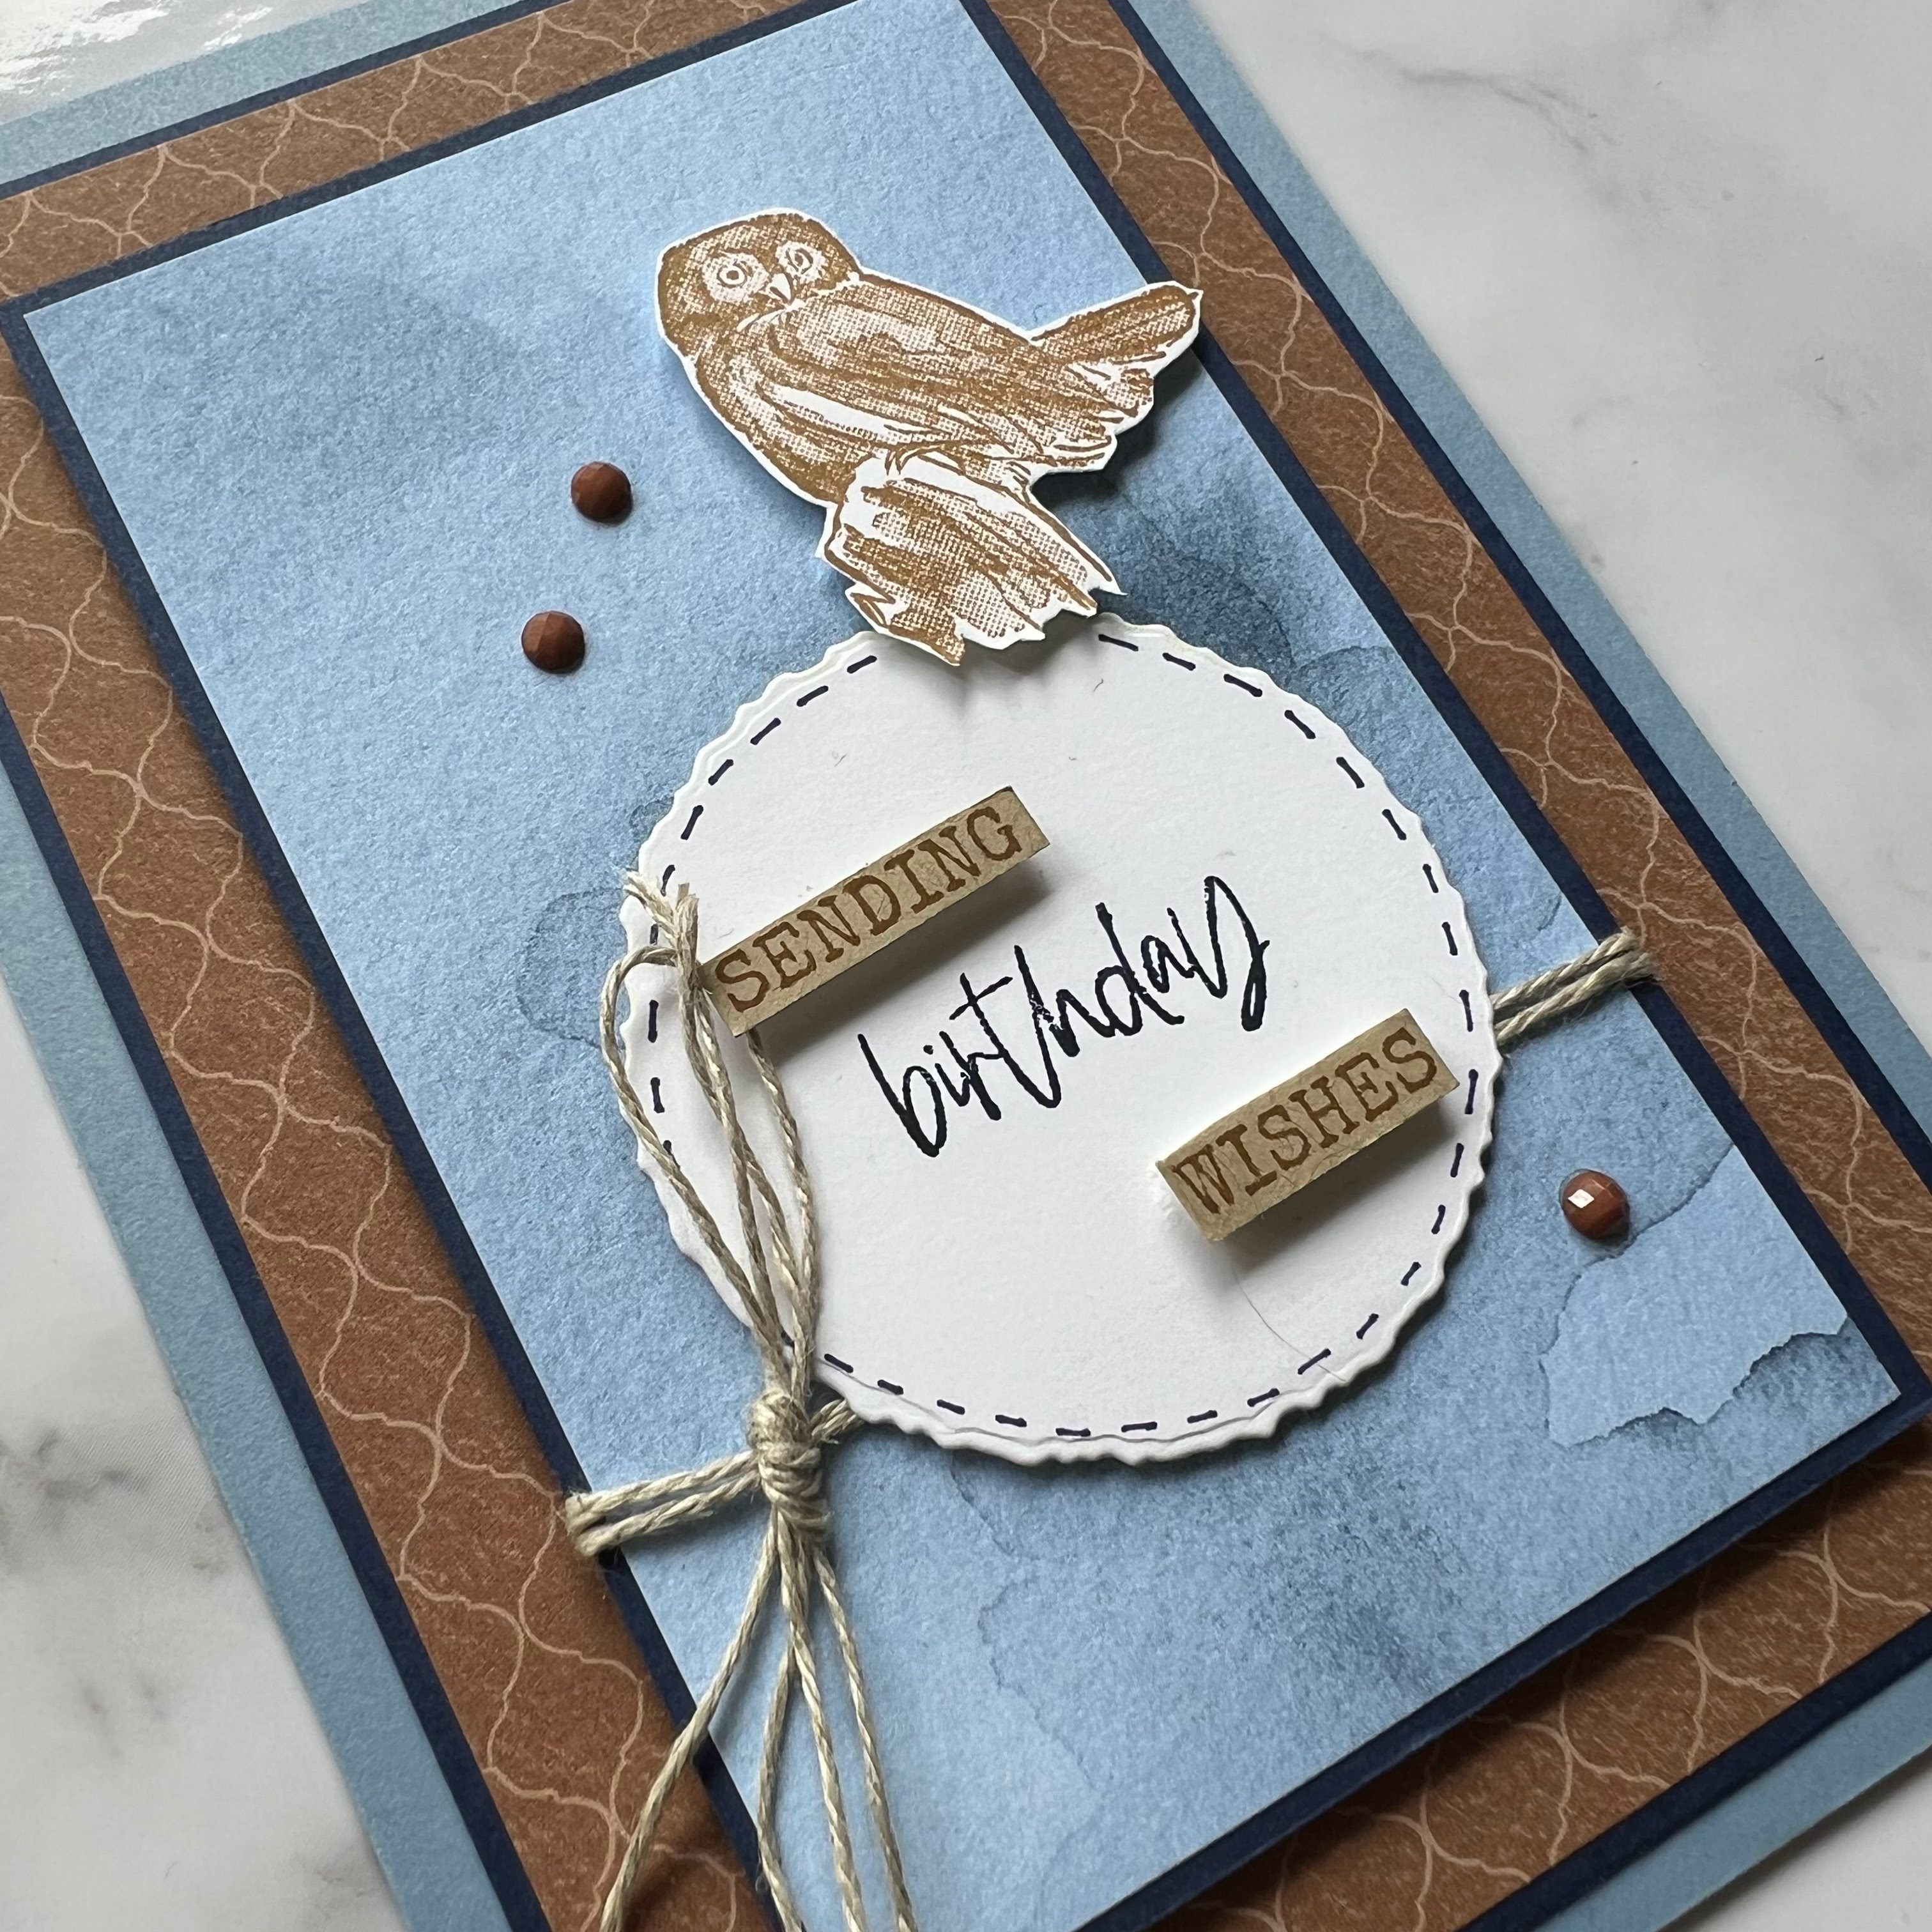
I was 9th in the chain for Round 6 and have created a male inspired birthday card using Wildlife Wonder and that cute Owl perched on the sentiment circle.
This set will retire soon - so make sure you grab a set as it will sell out very quickly and cheaply!

Here's the card I CASE'd from Monique Fielder  - be sure to see the OG version here
Lets take a closer look at this card, using the reverse side of some (now retired) Designer Series Paper I created a male inspired palette of colours to workk with. Pecan Pie has quickly become my FAVOURITE brown to date! I thought I really loved Soft Suede, nah-uh compared to P Pie. 
I reconfigured the greeting by covering the end words with post it notes.
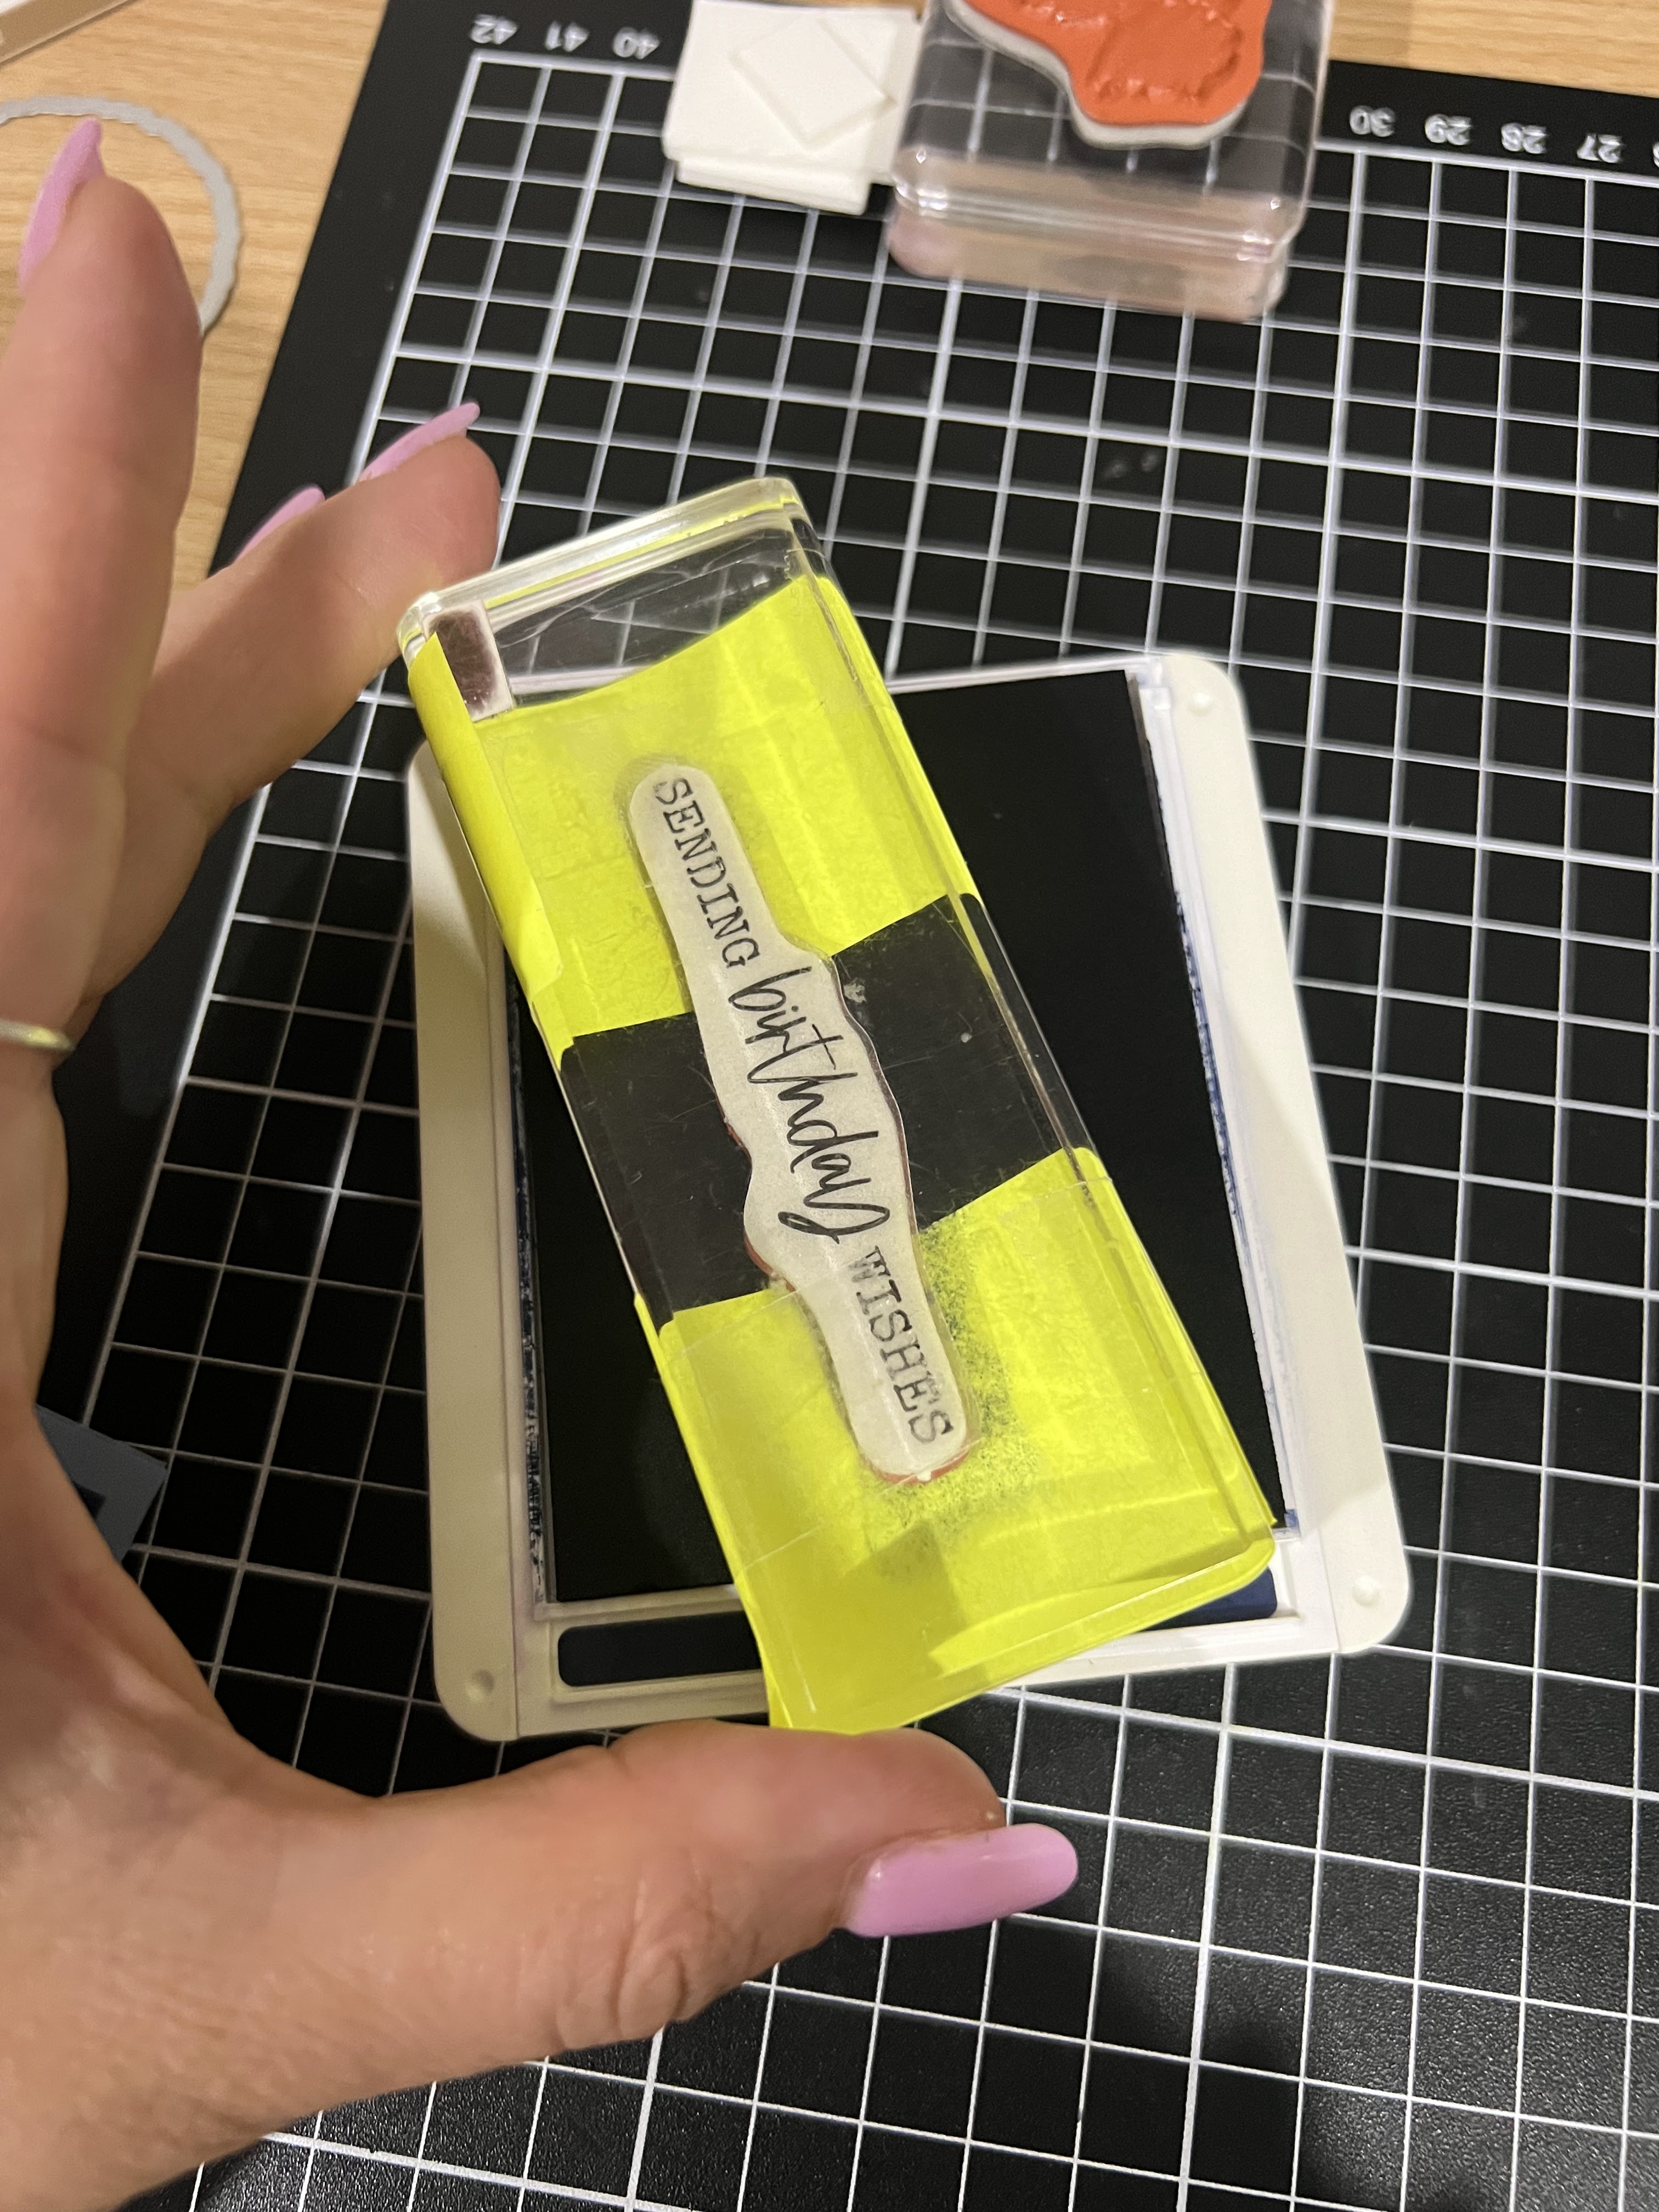
Step 1) Ink up the stamp, remove the post it notes, stamp onto the Basic White circle cut out
Step 2) Ink up the whole sentiment in Pecan Pie, stamp on Crumb cake cardstock, cut out using scissors/trimmer
Some owls for the inside
Loving this mature combination
Be sure to continue on the hop below!

Thanks so much for stopping by and hopefully I have inspired your creativity. I love reading your comments, be sure to leave me a quick hello below! 
See all the catalogue products & specials here

Monday, 18 May 2020

Best Catch Fishing Jacket

Today we are creating a Fishing Jacket Card. The original idea is by Jacquii McLeay you can see her card here. I thought this would make a great card for anyone who’s into fishing. You could definitely change the colours to suit the recipient. Let’s get started. 

I have added lots of stamping and sponging - give it a try, it’s a great way to add more interest and detail to your card. 

You will need to cut your base down to 8” & score as follows....

Next is shaping the jacket....

Creat the collar with some quick measurements & scoring 

Does your base look like mine?

Let’s add some detail .... stamp with any ‘texture style’ image then add a dimensional to those collars

Next we need to cut the green strip into 4 squares. They should measure 1-1/2” each.
For added detail I cut the bottom corners, cut one then use that as a template for the others. 
I sponges all the edges in the same colour ink - Old Olive. 
I also drew some ‘stitches’with a marker, use a ruler to help you stay straight.
Then add some dimensionals leave the top open so you can add some stamped images.

Stamp and colour your images
Here’s a look again at how to arrange all the pieces, don’t forget those cute buttons! 
Use some strong adhesive to glue them down - Glue dots are excellent & very strong. 

Don’t forget the inside panel! You will need to trim the bottom corners.
I glued the top edge of the inside panels then trimmed with my scissors, then glued the rest down to the base. 

If you liked today's post please share your favourite pictures to your Pinterest boards!

Thanks so much for stopping by and hopefully I have inspired your creativity. I love reading your comments so show me some blog love & leave me a quick hello below! 
https://feedburner.google.com/fb/a/mailverify?uri=CarolinaEvans-StampinUpDemonstratorMelbourneAustraliahttp://www3.stampinup.com/ECWeb/default.aspx?dbwsdemoid=4005871https://ida.stampinup.com/?demoid=4005871https://www3.stampinup.com/ECWeb/ItemList.aspx?categoryid=300100&dbwsdemoid=4005871
See all the catalogue products & specials below here


*COVID-19 is priced in USD

Saturday, 5 October 2019

A Good Man Slider Card

Hey Crafters! It’s been too long since I shared some crafting inspiration and ISO-living is the best time for me to share some now!
Today I’m sharing an interactive birthday card using ‘A Good Man’ stamp set. First I created a pocket using a standard A5 sheet of cardstock scoring it at 4” & 8” and using the remainder to create the flap to close the pocket. Before you close the pocket be sure to cut out a rectangle (window) from one side of the pocket. 

Use a smaller piece to make a slider (green). 
Pop up the man image up on dimensionals so that when it hits the end of the cut out window the slider won’t slide all the way out.
Stamp a background to ‘reveal’ when the slider slides out. 


If you liked today's post please share your favourite pictures to your Pinterest boards!
Thanks so much for stopping by and hopefully I have inspired your creativity. I love reading your comments so show me some blog love & leave me a quick hello below! 
https://feedburner.google.com/fb/a/mailverify?uri=CarolinaEvans-StampinUpDemonstratorMelbourneAustraliahttp://www3.stampinup.com/ECWeb/default.aspx?dbwsdemoid=4005871https://ida.stampinup.com/?demoid=4005871https://www3.stampinup.com/ECWeb/ItemList.aspx?categoryid=300100&dbwsdemoid=4005871

See all the new catalogue products here.

Friday, 26 July 2019

Ink it! Stamp it! Blog Hop - Country Road Baby Wipe Technique #inkitstampit

Welcome to the Ink it! Stamp it! Blog Hop. The Design Team have been busy making projects inspired by our Technique theme. The team have all created amazing projects to share with us tonight. The full line up below will guide you through all the projects and we'd love to hear from you on what your favourite techniques are?

I’ve revisited this awesome stamp set this month together with the baby wipe technique. If you’ve never heard of this before you can make your own multicoloured ‘ink pad’ with a folded baby wipe and reinkers. See picture below.

I have found the images with lots of solid parts to it works best as you can see the multi colours better.

Create an ‘ink pad’ big enough to accomodate the stamp size. This way you’ll avoid blending the colours together too much when inking up the image. Careful with the reinkers it can get quite messy real quick!

Don’t forget the inside...

I love this colour combination...

If you liked today's post please share your favourite pictures to your Pinterest boards!

Thank you so much for joining us today. We hope that you'll join us again next month to see our next lot of projects. I'm Carolina and to keep hopping around see the list below to see who is up next.
Full Blog Line Up

https://feedburner.google.com/fb/a/mailverify?uri=CarolinaEvans-StampinUpDemonstratorMelbourneAustraliahttp://www3.stampinup.com/ECWeb/default.aspx?dbwsdemoid=4005871https://ida.stampinup.com/?demoid=4005871https://www3.stampinup.com/ECWeb/ItemList.aspx?categoryid=300100&dbwsdemoid=4005871