Showing posts with label #dryembossing. Show all posts

Monday, 7 April 2025

Adventurous Sky Planes with Shy Shamrock

Today I'm sharing a cool plane card I made for a friends birthday. They love planes and the colour green so I went with that as my starting point!

The first layers to prepare is the Shy Shamrock card base (1/2 A4, scored at 10.5cm)
Next is the 3D Dotted Circles embossed background panel (10cm x14.5cm)

You'll also need x3 strips of DSP (2.5cm x 12.5cm each) 
I cut my DSP strips from Take to the Sky (Adventurous Sky Suite) and I added some subtle colour with a a blending brush, as the paper is originally a soft grey. Always remember to slowly build the colour when blending, previous referred to as daubing or sponging, you can always add more colour but you cant remove it. 
To my DSP strips I also gold embossed the rivet panel stamp image to the edges, again another subtle element.

The final steps are to create a frame for the plane to sit in front of
Shy Shamrock cardstock (7cm x 9.5cm) & Basic white also embossed with Dotted Circles (6.5cm x 9cm)
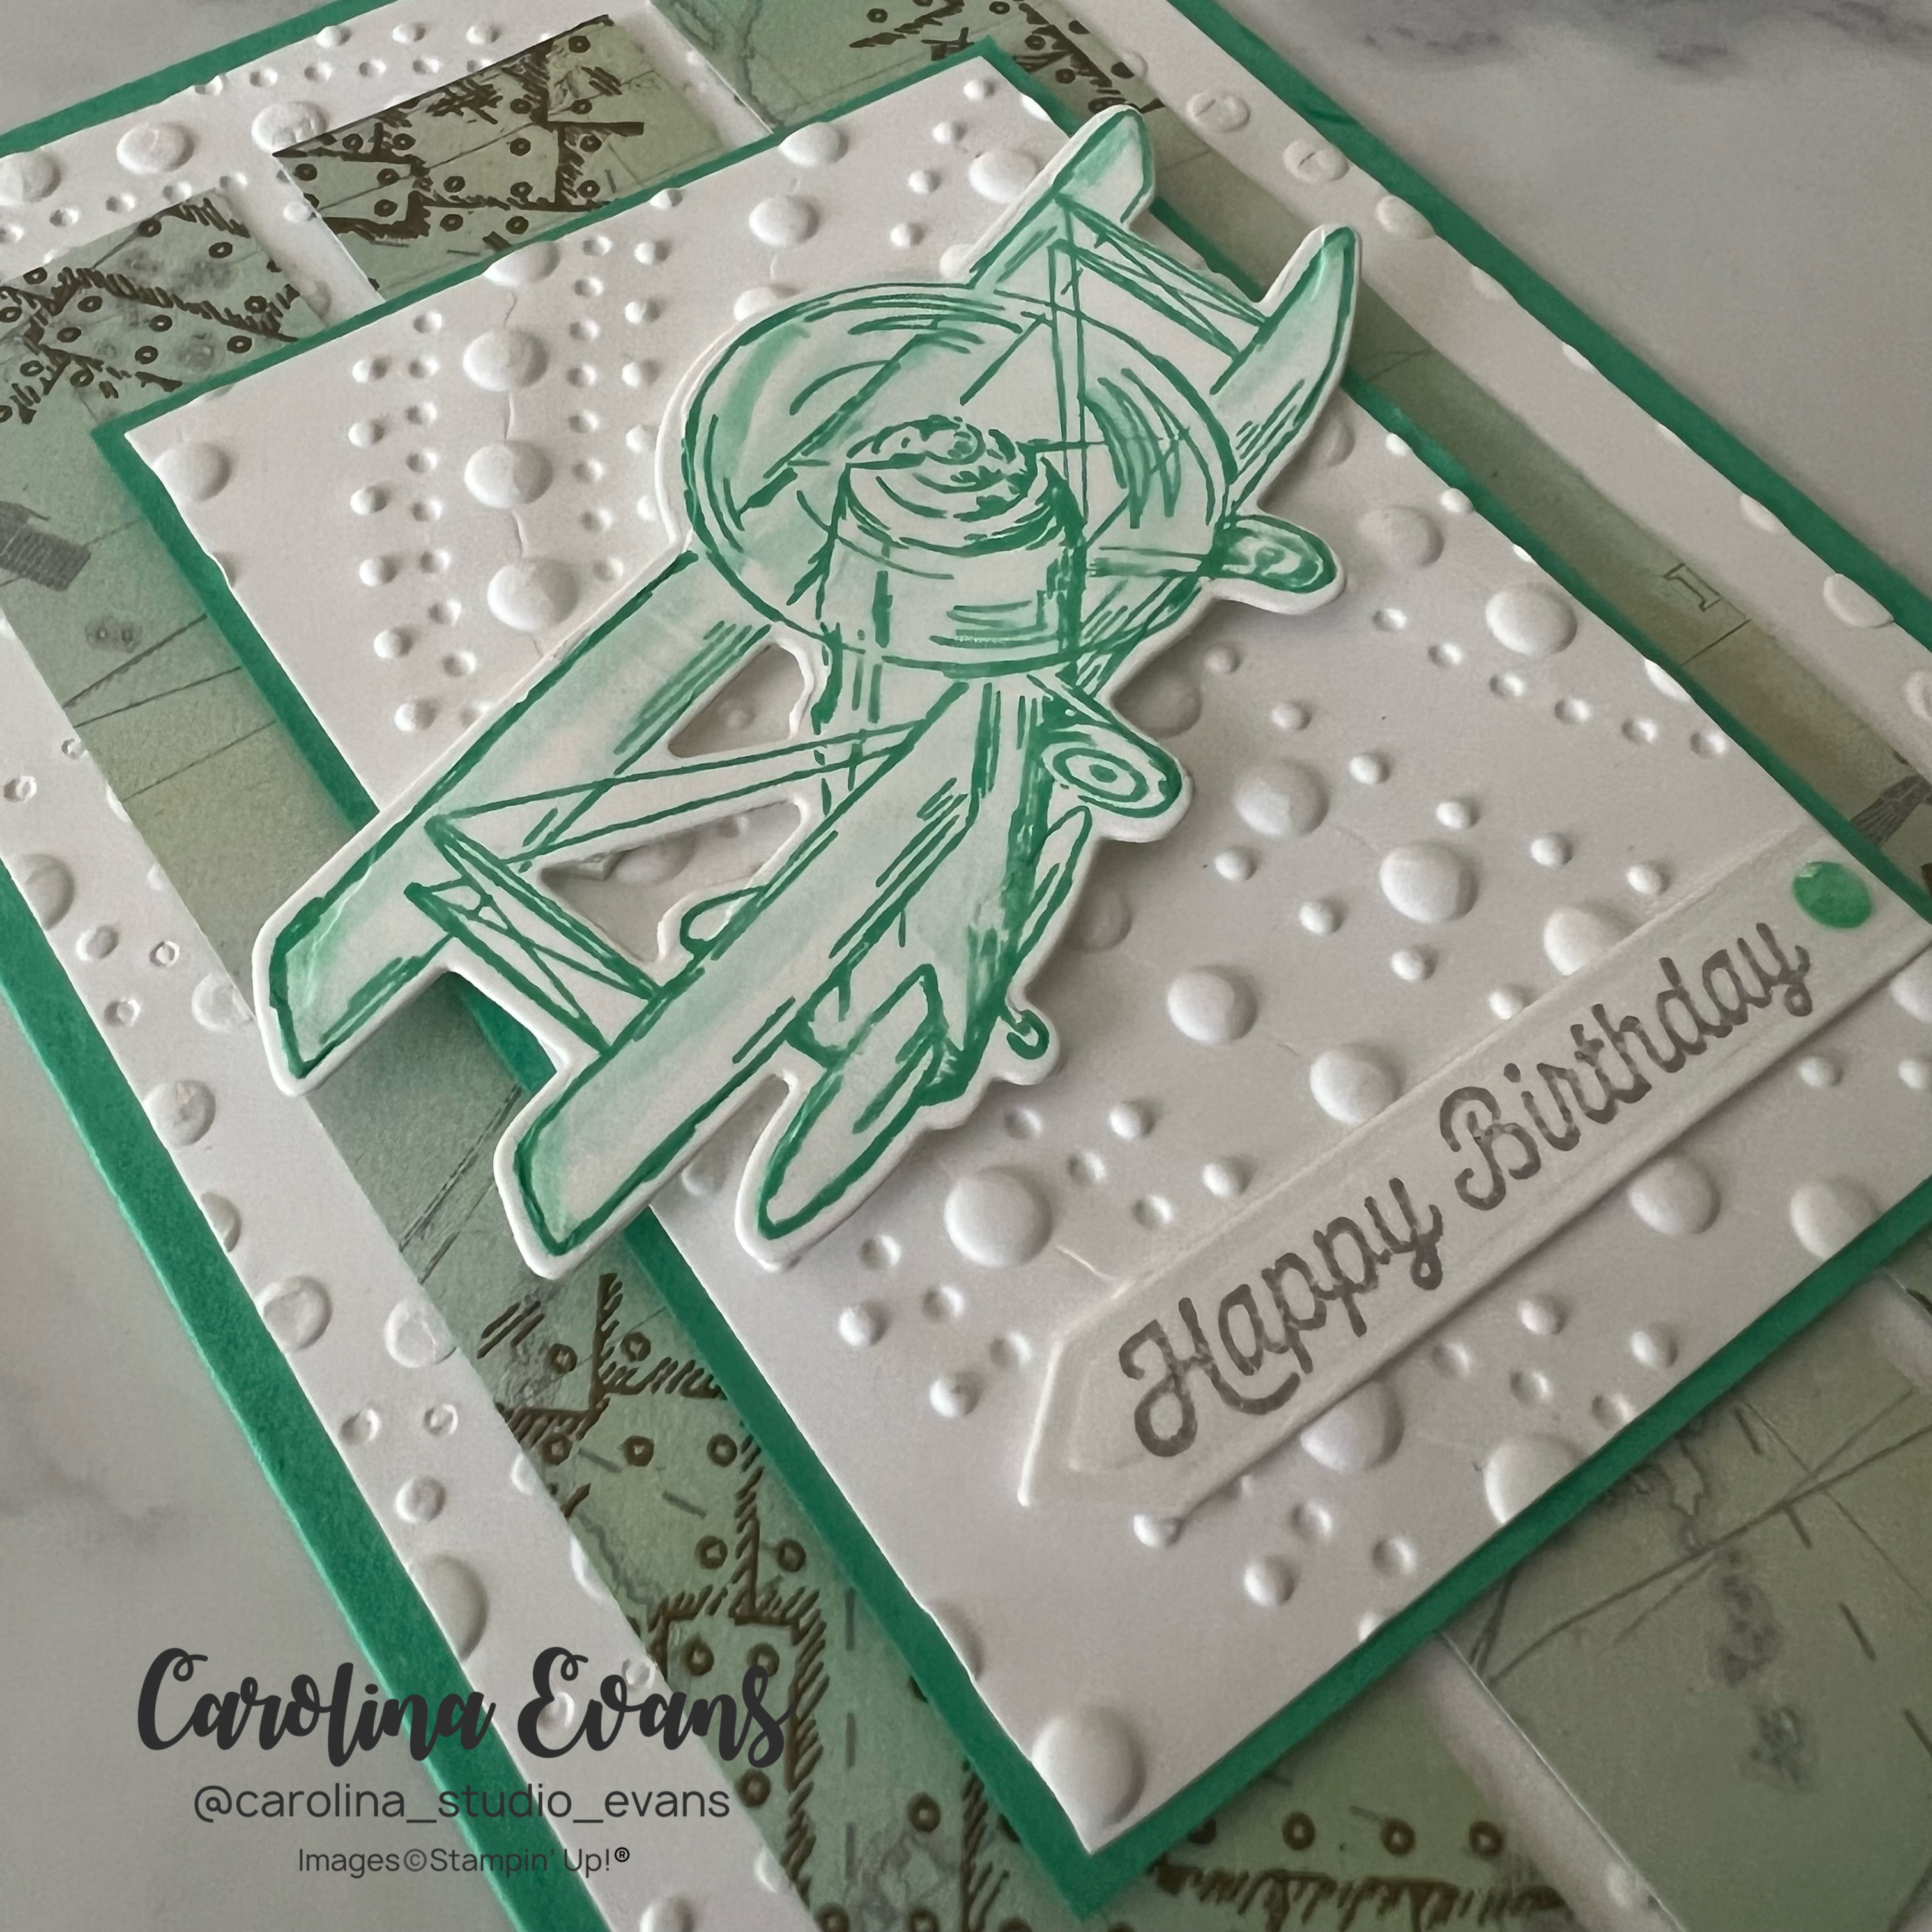
Stamp your aeroplane from Adventurous Sky onto Basic White in Shy Shamrock ink and gently 'drag'n the colour into the white spaces using a Blender pen.
I never forget the inside,  even if its just adding a couple of stamped images to carry the them thru. 
Thanks so much for stopping by and hopefully I have inspired your creativity. I love reading your comments, be sure to leave me a quick hello below! 
Tuesday, 17 September 2024

Cheerful Daisies with a POP of InColour - Chain Card Swap for Ros

Welcome to the Chain Card Swap Blog Hop! This hop is all about Ros and the CASES of her card. I encourage you to start the blog hop at Ros's blog and follow along to see the progression of her card through the group. Its so interesting to see the development!

I was 10th in the chain for Round 5 and have created a very textured card using a new 3D embossing folder along with some new InColours! Welcome Petunia POP and welcome back Pretty in Pink.

Here's is the card I CASE'd from Genna - I immediatey loved this card - from its rich colour combination to the gorgeous textured panels. I CASE'd 3 main elements - the embossing, the layout and 3 of the colours, just in different ratio.
Lets take a closer look at this card. 
Lets start with the Embossed panels - how gorgeous is this 3D emboss folder? Its Dashing Designs and I'm loving the details, plus it gives off 'quilted blanket' for sure. 
Next, the die cuts - you can't go wrong with a floral arrangment, doesnt matter how you layer them, its gonna look so cool!
Lastly COLOUR - Petunia Pop you are totally my jam. I'm loving all kinds of purply shades and his colour is delicious. It pairs so well with other colours. This years InColour welcomes back an old colour Pretty in Pink. SU have never done this before (retire a family colour and then bring it back) - its a welcomed comeback for the next 2 years. 
The inside carries the theme thru with an embossed strip and flower die cut.
If you don't already have Cheerful Daisies - grab it and the die set too!
Be sure to continue on the hop below!

Thanks so much for stopping by and hopefully I have inspired your creativity. I love reading your comments, be sure to leave me a quick hello below! 

Wednesday, 17 April 2024

Quilted Blanket Technique with Delightfully Eclectic DSP STACK

Who doesn't love a warm hug from a cozy blanket. Todays card reminds me of just that. I want to share a super cool PAPER technique with you. I showcased this a couple weeks ago in a video, but look at the difference the embossing REALLY makes.  Lets take these 2 Thank You cards that I made using scrap strips from the Delightfully Eclectic DSP Stack (on sale NOW as it will retire soon!)  One has been embossed using Quatrefoil Tile (also retiring!) Embossing folder and the other hasn't.  Which is your favourite? 

Love this THANK YOU from Something Fancy - which will be available when the new catalogue begins on May 1st. 
So which is your favourite? EMBOSSED or 
 
.... or NOT? 
Personally I prefer the technique WITH. Its so easy too! Simply apply your DSP to your card front or label, run it through with an Emboss Folder of your choice and see the quilted, embossed, textured, detailed look appear like magic!
This colour combo reminds me of a cozy baby blanket, warm and cuddly
Thanks so much for stopping by and hopefully I have inspired your creativity. I love reading your comments, be sure to leave me a quick hello below! 
See all the catalogue products & specials here

Monday, 1 April 2024

Earthern Textures Pop Up Card

Today, I'm sharing with you a beautiful fun fold card using products the Earthen Textures Suite.  I cannot claim this design as my own. While researching cards online I came across this one and as soon as I can find the persons name where I have CASE'd from I willl return to include their details here. 

I love stamp sets that have a die set with ALL the cutters. This is that and more, as it includes so many more cutters than what you can stamp and cut. My favourite die has to be the large fan, its big and detailed and SOO on trend!
These rich colours look even better with texture
This fun fold is so easy and folds to a regular card size.
Fold a half sheet of A4 in half lengthways
Score a 5-3/4" (H) x 6" (W)sheet of DSP @1-1/2", 3", 4-1/2" along the 6" side
Glue as shown, lining up the 2 middle score lines to form that square void.
Bright and rich in colour!
If you liked today's post please share your favourite pictures to your Pinterest boards!

Thanks so much for stopping by and hopefully I have inspired your creativity. I love reading your comments, be sure to leave me a quick hello below!